Posts

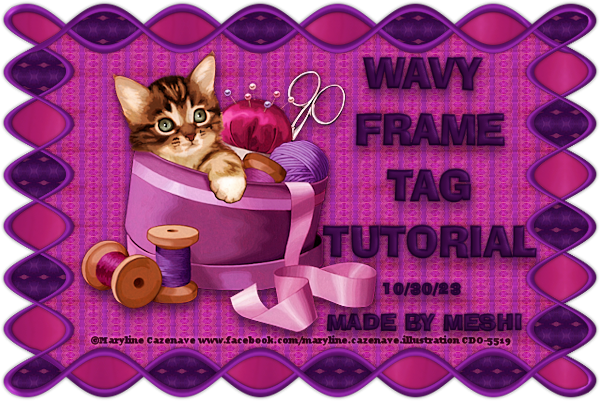
Wavy Frame Tag Tutorial
Image
Wavy Frame Tag Tutorial Made by Meshi October 31, 2023   NEEDED   Paint Shop Pro (I used XV). Free trial here . No outside filters are needed.   Just a tube! 😊Preferably wider  than tall. (I used an image I purchased through Creative Design Outlet ).   A variation idea: If you would prefer to use scrap kit papers with your tube, rather than make your own patterns, skip steps 20 - 32, placing three scrap papers for the bottom layers. Crop to canvas size afterward. (See step 4 for how to  crop quickly.)   Let's Begin!   1. File > Open Your tube   2. Window > Duplicate (Close the original.)   3. Edit > Copy (for later use)   4. Crop Tool Merged Opaque Apply   5. Image > Resize  Suggested Dimensions: Height no taller than 320 Pixels Width no wider than 490. Resample using: Bicubic Lock aspect ratio = Checked Resize all layers = Checked * We can resize more later if you would like.   6. Dropper Tool Left click on your tube and choose a medium/dark color for 
Image
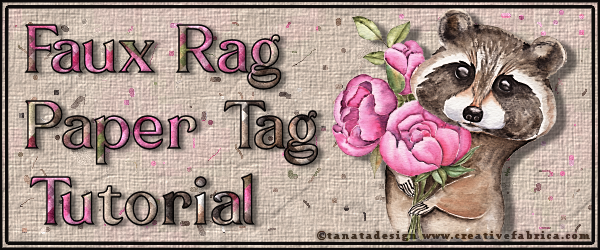
Needed: Paint Shop Pro (I used XV). No outside filters are needed.  A tube - Wider than tall. (I used an image I purchased through  Creative Fabrica ). faux rag paper supplies  Unzip and place selection in your selections folder and texture in your texture folder. Klarinda Playful is the font I used.   Let's Begin! 1. File > Open  Your tube   2. Window > Duplicate (You can now close out the original.)   3. Image > Resize  Pixel Dimensions  Height 246 Pixels  (234 if you don't have space above and below) Resample using: Weighted Average Lock aspect ratio = Checked Resize all layers = Checked   4. Adjust > Sharpness > Unsharp Mask Settings = High Res Portrait which is: Radius: 1.50 Strength: 100 Clipping: 10 Luminance only = Checked Or use any setting of your choice.    5. Layers > Duplicate   6. Layers Palette Hide copy of  tube for now.   7. Image > Canvas Size  New Dimensions  Width: 600 Pixels Height: 250 Placement = Middle
Image
Faux Mask Tag Tutorial by Meshi   Written September 26, 2021 You will see a number of notes and optional things you could do. This was necessary due to testing a variety of images and seeing their results and wanting the very best outcome for your particular hand chosen artwork.     Needed: Paint Shop Pro ( I used XV ). No outside filters are needed.  An image/Tube ( I used one I purchased through Creative Fabrica . ) Notes: You will need one with colors spread throughout, not mainly in one area. Using a tube that is somewhat close to the same width and height would be ideal. The one I used for the circular faux mask, sized down to upcoming dimensions was 426 width x 550 height, which is still great, because we can change our mask width.   Let's get started! 1. File > Open  Your tube   2. Window > Duplicate ( You can now close out the original .) 3. Image > Resize  Pixel Dimensions  Height/Width = 550 Pixels on largest side  Resample us

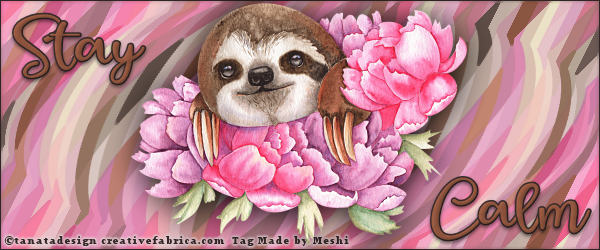
Stay Calm Tag Tutorial by Meshi

Image
Needed: Paint Shop Pro (I used XV). No outside filters are needed.  Animation Shop is used if you want to animate. An image (I used one I purchased through Creative Fabrica). 1. File > Open  Your tube 2. Window > Duplicate (You can now close out the original.) 3. Image > Resize  Pixel Dimensions  Height 246 Pixels  (Width will adjust itself) Resample using: Weighted Average Lock aspect ratio = Checked Resize all layers = Checked (Sometimes I like to crop the image first if there is a bit of space above/below.) 4. Adjust > Sharpness > Unsharp Mask Settings = High Res Portrait which is: Radius: 1.00 Strength: 50 Clipping: 2 Luminance only = Unchecked Or use any setting of your choice.  5. Layers > Duplicate 6. Image > Canvas Size  New Dimensions  Width: 600 Pixels Height: 250 Placement = Middle box 7. Dropper Tool Choose a light (left click on image) and a medium color (right click on image). 8. Layers > New Raster Layer 9. Layers > Arrange > Send to Bottom